Shiv's Portfolio Live - 👌 Best NextJS Portfolio
- Features
- Sections
- Tech Stacks
- Getting Started
- How to Edit This Portfolio (Make It Your's)
- How to Implement a Live Chat System Using Tawk.to
- Required APIs for This Project (All Are Free APIs)
- .env.local - file
- Contribute
- Simple and Clean Design
- Dark and Light Theme
- Mobile Responsiveness
- Chat System - tawk.to
- Message by gmail - nodemailer
-
Libraries:
Follow these steps to set up and run the project on your local machine.
To get a local copy of this repository, run the following command in your terminal:
git clone https://github.com/iamshiv007/Next-Portfolio.gitChange your working directory to the project folder:
cd next-portfolioInstall the required packages using npm:
npm iRun the following command to launch the Next.js project in your local environment:
npm run devOpen your web browser and go to http://localhost:3000 to view the project.
That's it! You're now ready to explore the project locally.
Happy coding! 🚀
Note :-This is a beginner's guide for those who have never worked on a Next.js project before. If you can understand the project, it's in your hands to make changes and create a portfolio that's 10 times better. You can use its clone for a quick start.
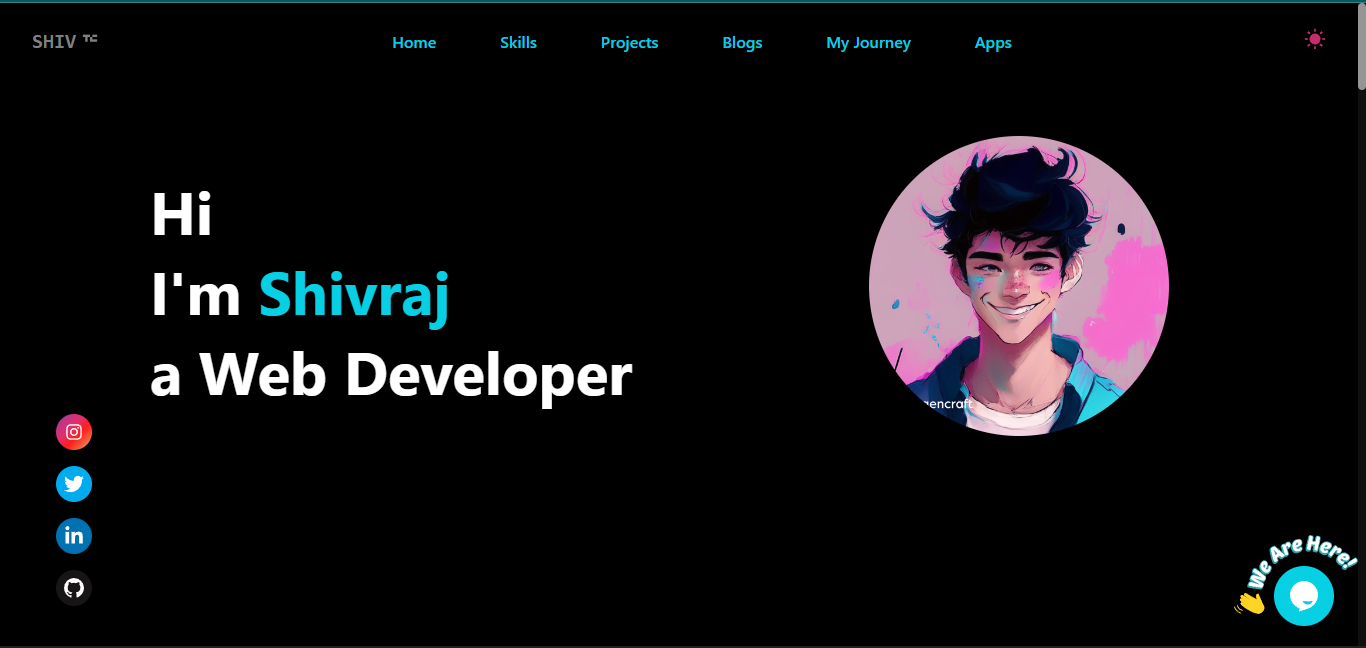
In the root directory, you'll find a sections folder. Inside this folder, locate the Intro.jsx file.
Within the intro file, update the following details:
- Shivraj - Your Name
- Web Developer - Profession
- /images/cartoon0.png - Your Photo
Remember to have your photo uploaded in the images folder located within the public directory.
In the root directory, you'll find a constants folder. Inside this folder, locate the SkillsData.jsx
- Add or remove skills according to your preferences.
- Use Desire icon from
react-iconslibrary. - Give desire color to icon.
Just like with Skills, we have a ProjectsData.js file located in the constants folder.
All you need to do is replace the existing data with your own (name: Your project name, url: Project Live URL, imageUrl: Image URL from the images folder in the public directory).
Similar to Skills and Projects, you only need to customize the data in the JourneyData.jsx file according to yourself.
You don't need to change the app data, but if you want, you can create similar easy apps and replace the data in the AppsData.jsx file.
Suggetion for apps :- To-do List App, Weather App, Random Quote Generator, Random Jokes Generator, Basic Calculator, Countdown Timer, Recipe Finder etc.
Note :- If you're not able to customize the portfolio or run the project in your local environment, don't worry. It's not a journey of just 1 or 2 days, it takes time. For me, I was able to create it after 1 year of consistent learning. If you're not able to use its clone, just leave it and keep learning. You'll create a better portfolio or project one day.
6. How to Implement a Live Chat System Using Tawk.to
I'm excited to introduce you to this amazing feature, and the best part is, it's completely free!
Follow these steps to set up your live chat system:
Step 1: Sign up on tawk.to.
Step 2: Complete the simple 4-step process to create your free account.
Step 3: Once you've completed the process, copy the code snippet provided at the end.
Step 4: Now, integrate the copied code into your application:
Navigate to the Components directory, locate the ChatSystem.jsx file, and inside the useEffect function, paste the copied code.
By following these steps, you'll have an efficient live chat system up and running in no time, enhancing your user experience and engagement.
-
ChatGPT API from RapidAPI - Details
-
Microsoft Translator API from RapidAPI - Details
-
Google News API from Google - Details
-
Quiz API from Trivia API (No API Key Required) - Details
-
Images API from Pexels API - Details
After obtaining the above mentioned API, create a .env.local file and put values and restart your project.
const RAPID_API_KEY = VALUE_XXXX
const GOOGLE_NEWS_API_KEY = VALUE_XXXX
const PEXELS_API_KEY = VALUE_XXXX
const MONGODB_CONNECTION_STRING = VALUE_XXXXThank you for checking out my portfolio! I invite you to join in and make it your own. Feel free to contribute by editing the information, images, and name to personalize it according to your skills and achievements.
-
Fork the Repository: Start by forking this repository to your GitHub account. This will create a copy of the portfolio project in your account.
-
Make Your Changes: Edit the portfolio content, update images, and customize details like your name, skills, projects, and journey.
-
Preview Your Portfolio: You can locally preview your changes by following the setup instructions mentioned in the repository's README.
-
Create a Pull Request: Once you're satisfied with your changes, submit a pull request back to the original repository. I'll review your contributions and, if everything looks good, merge your changes.
- Showcase Your Work: Share your accomplishments and projects with the world through your personalized portfolio.
- Learn and Improve: Practice your coding skills while experimenting with HTML, CSS, and JavaScript.
- Join the Community: Connect with others who are also building their portfolios, and receive feedback and support.
Remember, your portfolio is a reflection of your unique skills and experiences. Personalize it to make it truly yours!
Happy coding and designing! 🚀🎨